So you're...
Learning to Play Ultimate Frisbee
Good fun!
Ultimate skills fall into two general groups, physical skills and tactics. This blog focuses on tactics, too often overlooked, but since the game starts with physical skills, here's a brief introduction.
Physical Skills: Throwing

There are two basic throws, backhand and forehand. There are plenty of other throws - hammers, push passes, air bounces, 'scoobers' - but none so essential as the backhand and forehand. Master those two in a variety of conditions and you'll bring a strong game to the field.
The Backhand
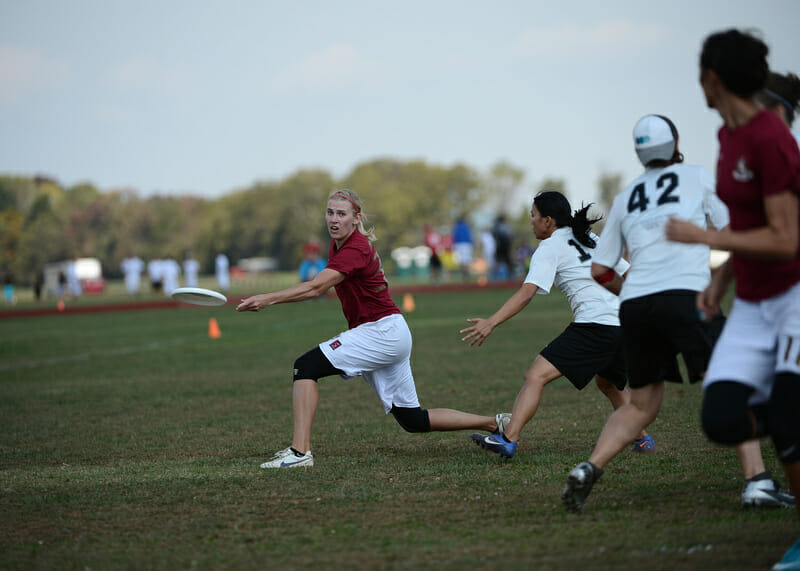
The backhand (above, right- and left-handed), is the standard throw most people learn first. It's much like a tennis backhand, and you shift your weight toward the foot of your strong hand as you throw, keeping the toes of your other foot on the ground until after you release. For detailed instructions, see this video.
Backhand Do's
- Plant your left foot (if right-handed) and move your weight to your right as you throw
- Snap your wrist on release to impart spin to the disc
- Watch the angle of your release to keep it level. See Wind Tips below.
The Forehand
 |
| Weight on the right foot, both feet on the ground. |
Some players move the first finger against the rim (next to the second finger) for more power, but all have the thumb gripped on top. From there, the motion relies heavily on wrist-snap. The arm moves, too, but far less than many people think, and the more the arm moves, the more the wrist must snap in tandem. The vast majority of iffy forehand throws lack sufficient wrist-snap. The other common mistake is to throw it with too steep an angle, tilting the top toward you more than intended, which can limit your range and accuracy. If this happens to you, tilt the disc farther away: you may even want to see the underside of it as you release.
Forehand Do's
- Keep your right foot planted
- Focus on wrist-snap to move the disc
- Check your Frisbee angle as you release

To illustrate, look at this example from another of Brodie Smith's videos, where he hardly moves his arm while throwing a forehand.
Because I have several links to Brodie's videos, I should acknowledge their usefulness and their limitations. They're clear, they cover helpful topics, and they give good tips in bite-sized segments. But they necessarily cover only certain mechanics, and you may find you want elaboration on other aspects of a throw. Use them as a starting point, not the sum of all Ultimate wisdom.
Disc Angle
A solid, level throw will cover you for most of the game. A slight angle with the top titled slightly toward you (a 'bender') can give a nice arc to a receiver running to your left (for a right-handed backhand), but level throws travel faster and are generally more stable. Unstable throws nearly always turn with the top towards the thrower. |
| Outside-In ('bender') arc |
Wind Tips
Keep your throws closer to the ground and release with more wrist-snap. An inside-out angle also helps in most conditions. Aim for shorter throws with a solid amount of forward force.If you are throwing with a steady wind at your back and intend to throw far, a higher throw can help bring the disc downfield. Throwing upwind, you'll want to keep the disc much lower.
Throwing in a Game: Pivoting Around the Marker

A defender may stand one disc-width away from the thrower, moving to block any passes. To toss around this 'marker,' the thrower typically pivots from side to side. These can be fakes or serious attempts to get around the marker, or most often, a combination of the two.
Often a marker will stand to one side, 'forcing' throws in the other direction. The force can be 'broken' by a variety of fancy throws - hammers, scoobers, high-release backhands - but often also with a basic throw and a good pivot. In any case, an occasional fake helps keep the defense reactive, even if the thrower doesn't intend to throw around the force.
The keys to good pivots:
- Stay stable. Don't step so far or so wildly that you can't throw if you get an open path.
- Stay ready. Holding the disc by your ear as you pivot probably won't fool your defender and it definitely won't help your throw.
- Stay calm. You do want to move from side to side - 'calm' doesn't mean 'like a statue' - but don't panic. Unlike your marker, you can see the field, and you can decide when the throw begins.
Most teams will have a standard count by which you're expected to toss the disc to a teammate close behind you or to your side. This 'dump' pass generally shouldn't be your first option - more under Tactics about why, with exceptions - but it shouldn't come too late, either. Players wait too long to take a dump pass far more often than they take it too early.
No comments:
Post a Comment